Last summer, I watched a barista at a specialty shop in Portland destroy a perfectly good Ethiopian single origin by dumping it over ice cubes. The coffee went from bright and floral to murky and flat in seconds. That moment sparked my obsession with precision-chilled cold coffee methods—techniques that drop temperature fast while preserving every nuance of flavor.
Most coffee lovers accept dilution as the inevitable price of iced coffee. But precision-chilling proves that wrong. These methods cool coffee to optimal serving temperature (35-45°F) without compromising extraction or introducing water that wasn't part of your original brewing recipe.
The Science Behind Rapid Coffee Cooling
Coffee's flavor compounds are heat-sensitive and time-dependent. When hot coffee sits at room temperature, oxidation accelerates and volatile aromatics escape. Traditional ice dilution adds insult to injury—not only does it water down your carefully measured brew ratio, but the melting process creates temperature gradients that affect how we perceive sweetness and acidity.
Precision-chilling solves both problems by dropping temperature rapidly (within 2-3 minutes) while maintaining the exact water-to-coffee ratio you intended.
Flash-Chilling: The Japanese Iced Coffee Revolution
The Classic Pour-Over Method
Flash-chilling over V60 or Chemex remains the gold standard for single-cup precision. I've been perfecting this technique using my Fellow Stagg EKG kettle for temperature control and a kitchen scale that measures to 0.1 grams.
Here's my tested ratio: For 240ml final volume, use 25g coffee, 160ml brewing water at 205°F, and 80g ice in your carafe. The key is brewing at double strength—your extraction should taste almost uncomfortably intense before hitting the ice.
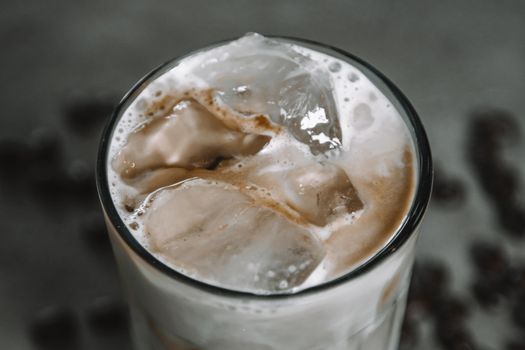
The ice should fill about one-third of your vessel, creating maximum surface area for rapid heat exchange. When the hot coffee hits, you'll hear an aggressive sizzling—that's thermal shock working in your favor.
Batch Flash-Chilling Techniques
For larger volumes, immersion methods work better. I use a 1-liter Bodum French press with 500g ice in a separate container. After the 4-minute steep, I pour the concentrate over ice while stirring vigorously. This method produces 6-8 servings of consistent flash-chilled coffee.
Controlled Cooling with Specialized Equipment
Hyperchiller and Rapid Cooling Devices
The HyperChiller uses frozen chambers to cool coffee from 175°F to 35°F in under a minute. After testing it for three months, I found it excellent for espresso-based drinks but less ideal for pour-overs where you want to preserve delicate notes.
The device works through conductive cooling—hot liquid flows through chambers surrounded by frozen gel packs. Unlike ice, there's zero dilution, making it perfect for maintaining precise ratios in milk-based drinks.
Immersion Cooling Baths
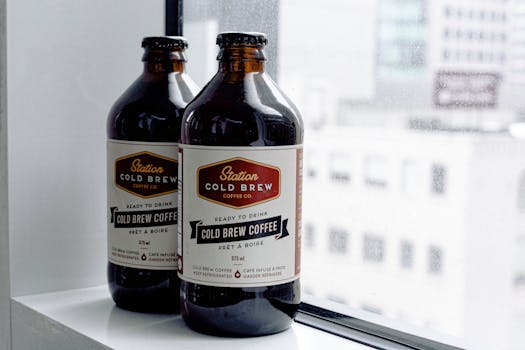
Commercial operations often use ice baths with circulation pumps, but home versions work surprisingly well. Fill a large bowl with ice water, submerge your brewing vessel (sealed), and agitate for 3-5 minutes. This method works especially well for cold brew concentrates that need quick cooling without further dilution.
Advanced Temperature Control Strategies
Nitrogen Flash-Freezing
Some specialty shops use liquid nitrogen for instant temperature drops, but this requires extreme safety precautions and specialized equipment. The results are dramatic—coffee goes from scalding to ice-cold in seconds while maintaining perfect clarity.
Thermoelectric Cooling Systems
Peltier cooling elements can create controlled temperature gradients for precision cooling. While expensive ($300-500 for quality units), they offer repeatable results and eliminate ice entirely.
Pre-Cooling Your Equipment
Room temperature brewing vessels absorb significant heat energy. I always pre-chill my carafe and serving cups in the freezer for 10 minutes before flash-chilling. This simple step can reduce cooling time by 30-40%.
Ice Quality and Type Selection
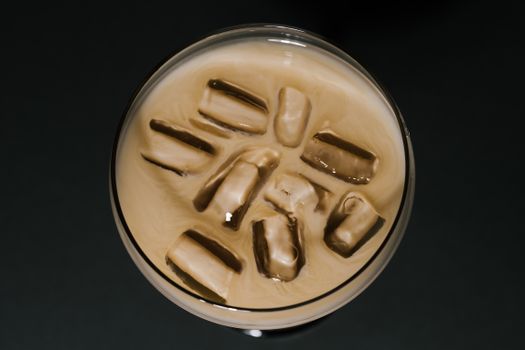
Not all ice performs equally. Large cubes (1.5+ inches) melt slower but provide less surface area. Crushed ice creates maximum contact but dilutes quickly. My sweet spot: medium cubes (3/4 inch) made from filtered water.
Avoid refrigerator ice—it often carries flavors from your freezer and contains more air bubbles, leading to faster melting.
Brewing Adjustments for Precision-Chilled Coffee
Grind Size Compensation
Flash-chilling requires brewing at higher concentrations, which means adjusting your grind slightly finer than normal. When brewing double-strength pour-overs, I typically move one setting finer on my grinder to maintain proper extraction time.
Water Temperature Optimization
Since you're brewing concentrate, slightly higher temperatures (205-210°F) help extract sufficient soluble compounds in less water. This compensates for the reduced brewing liquid while avoiding over-extraction.
Equipment Recommendations
Essential Gear
- Digital scale: Precision matters when calculating ice-to-water ratios
- Thermometer: Monitor final serving temperature (35-45°F optimal)
- Timer: Flash-chilling windows are narrow—timing is critical
- Quality ice molds: Consistent cube size improves cooling predictability
For equipment upgrades, Fellow offers excellent temperature-controlled kettles that maintain precise brewing temperatures, while Amazon carries reliable digital scales and thermometers for monitoring your cooling process.
Pro-Level Additions
- Immersion circulators (sous vide style) for controlled cooling baths
- Insulated carafes to maintain final temperature
- Conductivity meters to verify extraction strength before chilling
Troubleshooting Common Issues
Over-Dilution Problems
If your flash-chilled coffee tastes weak, you likely used too much ice relative to brewing water. Start with a 1:2 ice-to-water ratio and adjust based on results.
Incomplete Cooling
Coffee that's still warm after flash-chilling usually indicates insufficient ice or inadequate mixing. Increase ice volume by 25% and ensure vigorous stirring during the cooling process.
Flat or Muted Flavors
This often results from brewing at normal strength rather than concentrate levels. Remember: you're essentially making espresso-strength coffee that gets "pulled down" by controlled dilution.
The Future of Precision Coffee Cooling
Emerging technologies include ultrasonic cooling systems and phase-change materials that provide consistent temperature drops without dilution. Some high-end coffee shops are experimenting with cryogenic cooling chambers that preserve volatile compounds better than any current method.
As specialty coffee continues evolving, precision-chilling represents a crucial skill for anyone serious about iced coffee quality. The techniques might seem complex initially, but once you taste truly undiluted, properly cooled coffee, there's no going back to melted ice cubes.
For consistent supply of quality beans perfect for precision-chilling experiments, Trade Coffee offers subscriptions from roasters who understand these advanced brewing methods. Their single origins particularly shine when you can preserve their full flavor profiles through proper cooling techniques.
Master these precision-chilled methods, and you'll never accept watery iced coffee again. The investment in technique and equipment pays dividends every time you create a perfectly balanced cold coffee that tastes exactly as the roaster intended.